Market Grid
Using Tabs in the Market Grid
You can use tabs to organize your instruments by doing the following:
- Adding tabs
- Managing tabs
- Moving or copying instruments to a new tab
Adding tabs
You can add tabs to the Market Grid to allow you to monitor and trade different products within the same widget.
To add a tab:
-
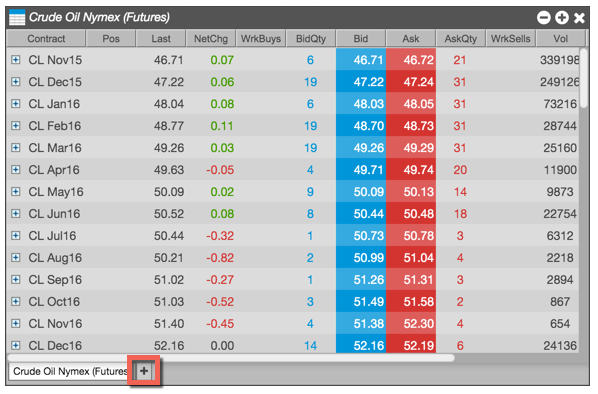
Click the + icon.
-
Click From a Product and enter an instrument name in the search field or click Explore to find the product you want to add.
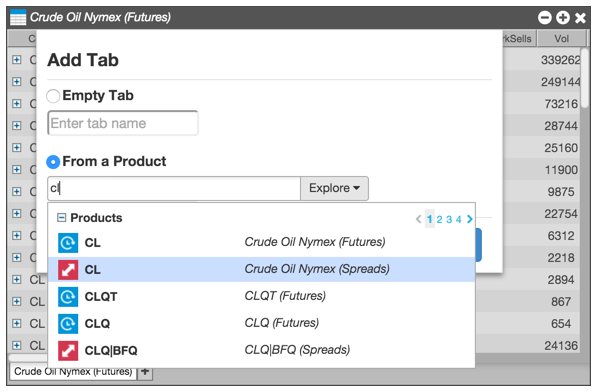
Note Populating a tab using the From a Product feature automatically enables a subscription to that product. This method allows the expired contracts to automatically roll into the next contract and will automatically add new instruments to the tab as they come available.
For more information, refer to the Subscribing to Products in the Market Grid section.
-
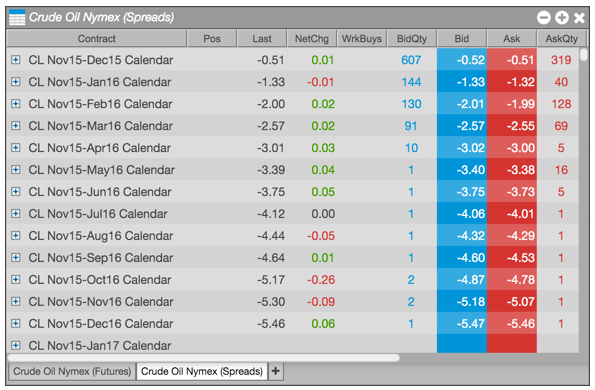
Click OK to add the new tab populated with the available contracts for the selected product.
Managing tabs
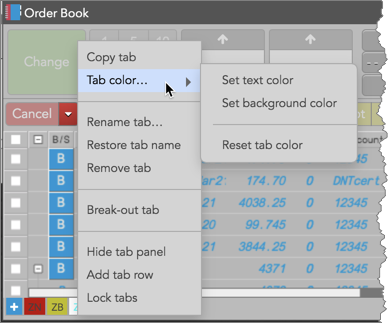
You can move, rename, copy, and remove tabs in the Market Grid using the tab menu:
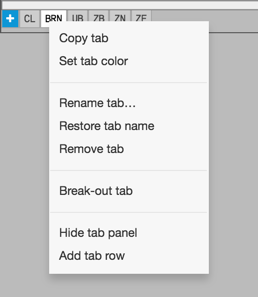
- To reorder the tabs, drag a tab to its new position. If you drag the tab away from the widget, a new widget is added to the desktop populated with the contents of the tab.
- To set a color for a tab, select Set tab color from the tab's context menu.
- To rename a tab, select Rename tab from the tab's context menu, and specify the new name.
- To restore a tab's name to its original value, select Restore tab from the context menu.
- To copy a tab, select Copy tab from the context menu.
- To remove a tab, select Remove tab from the context menu.
-
To add another row to the tab panel, select Add tab row from the context menu. Adding a row, moves the tabs hidden in the scrolling view to the next row.

- To remove a manually added tab row, select Remove tab row from the context menu, which removes the bottom-most row.
- To hide the tab panel, select Hide tab panel from the context menu. Once hidden, you need to enable Show tabs in the Settings to show the panel.
Moving or copying instruments to a new tab
To move or copy an instrument to a new tab:
-
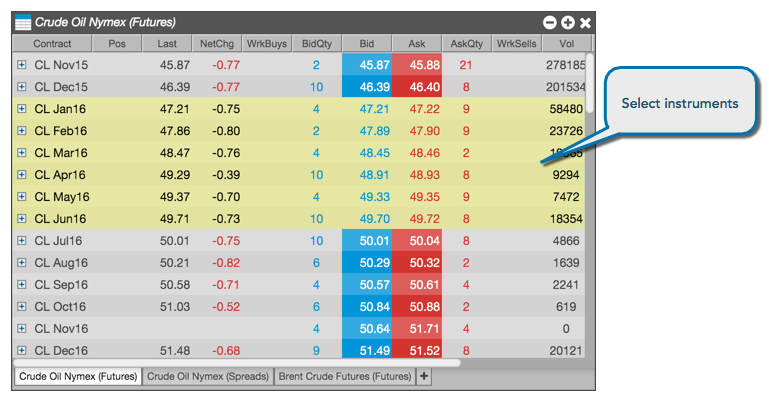
Select one or more contracts you want to move or copy to a new tab.
-
Right-click on a selected contract, and select either Copy to new tab or Move to new tab from the context menu.
-
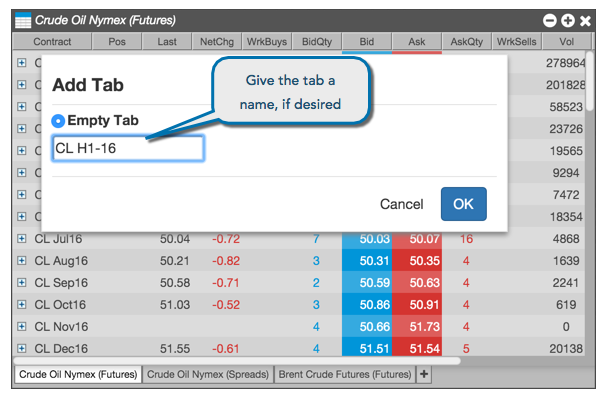
Enter a tab name, if desired, and click OK.
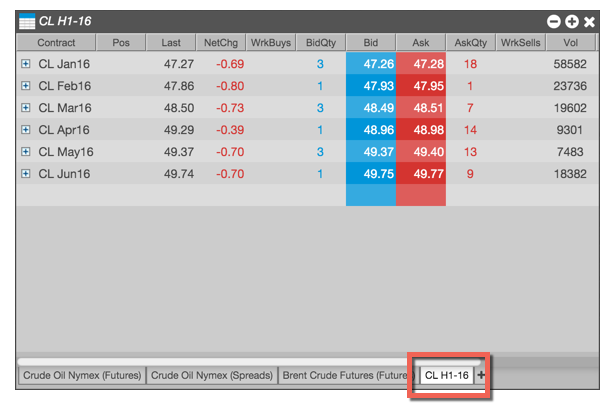
A new tab is created with the selected contracts.
Widget tab colors
To set a color for the background or text on a widget tab, right-click the tab and select Tab color from the context menu. Select a color from the palette or click Custom to create your own color for the tab. Click Reset tab color to restore the tab.
