TT Backtesting
Running a backtest
This section explains how to:
Backtesting an algo
When setting up a new backtest, you need to:
- Create and configure the backtest.
- Add and configure algo instances to the backtest.
- Start the backtest.
Creating and configuring a backtest
To create and run a new backtest:
-
In the main Backtests window, click Add New.
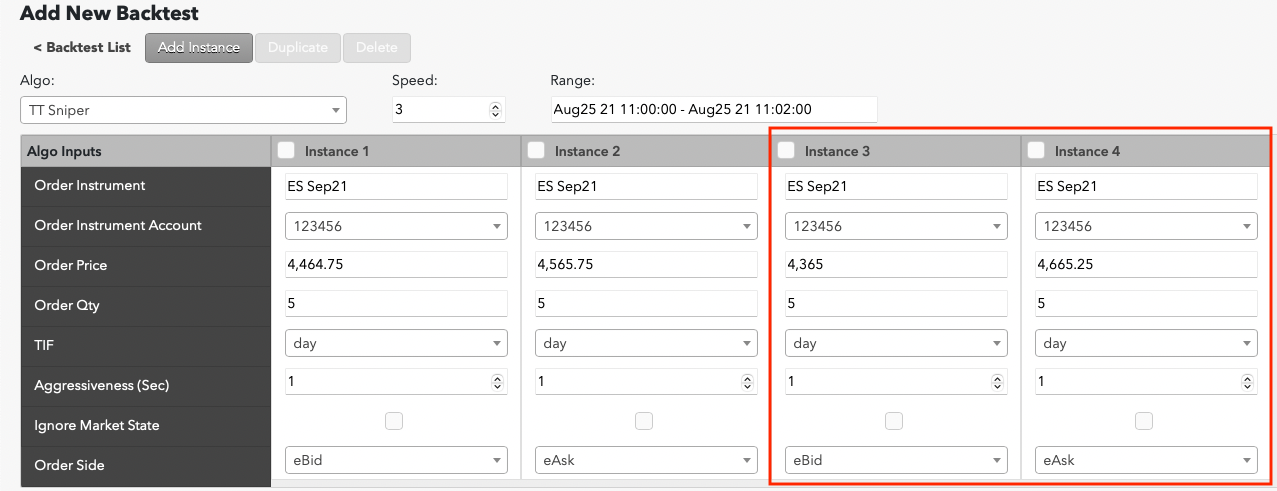
The Add New Backtest window displays the user-defined algo parameters you can set and creates an instance of the parameters with the algo's default values.
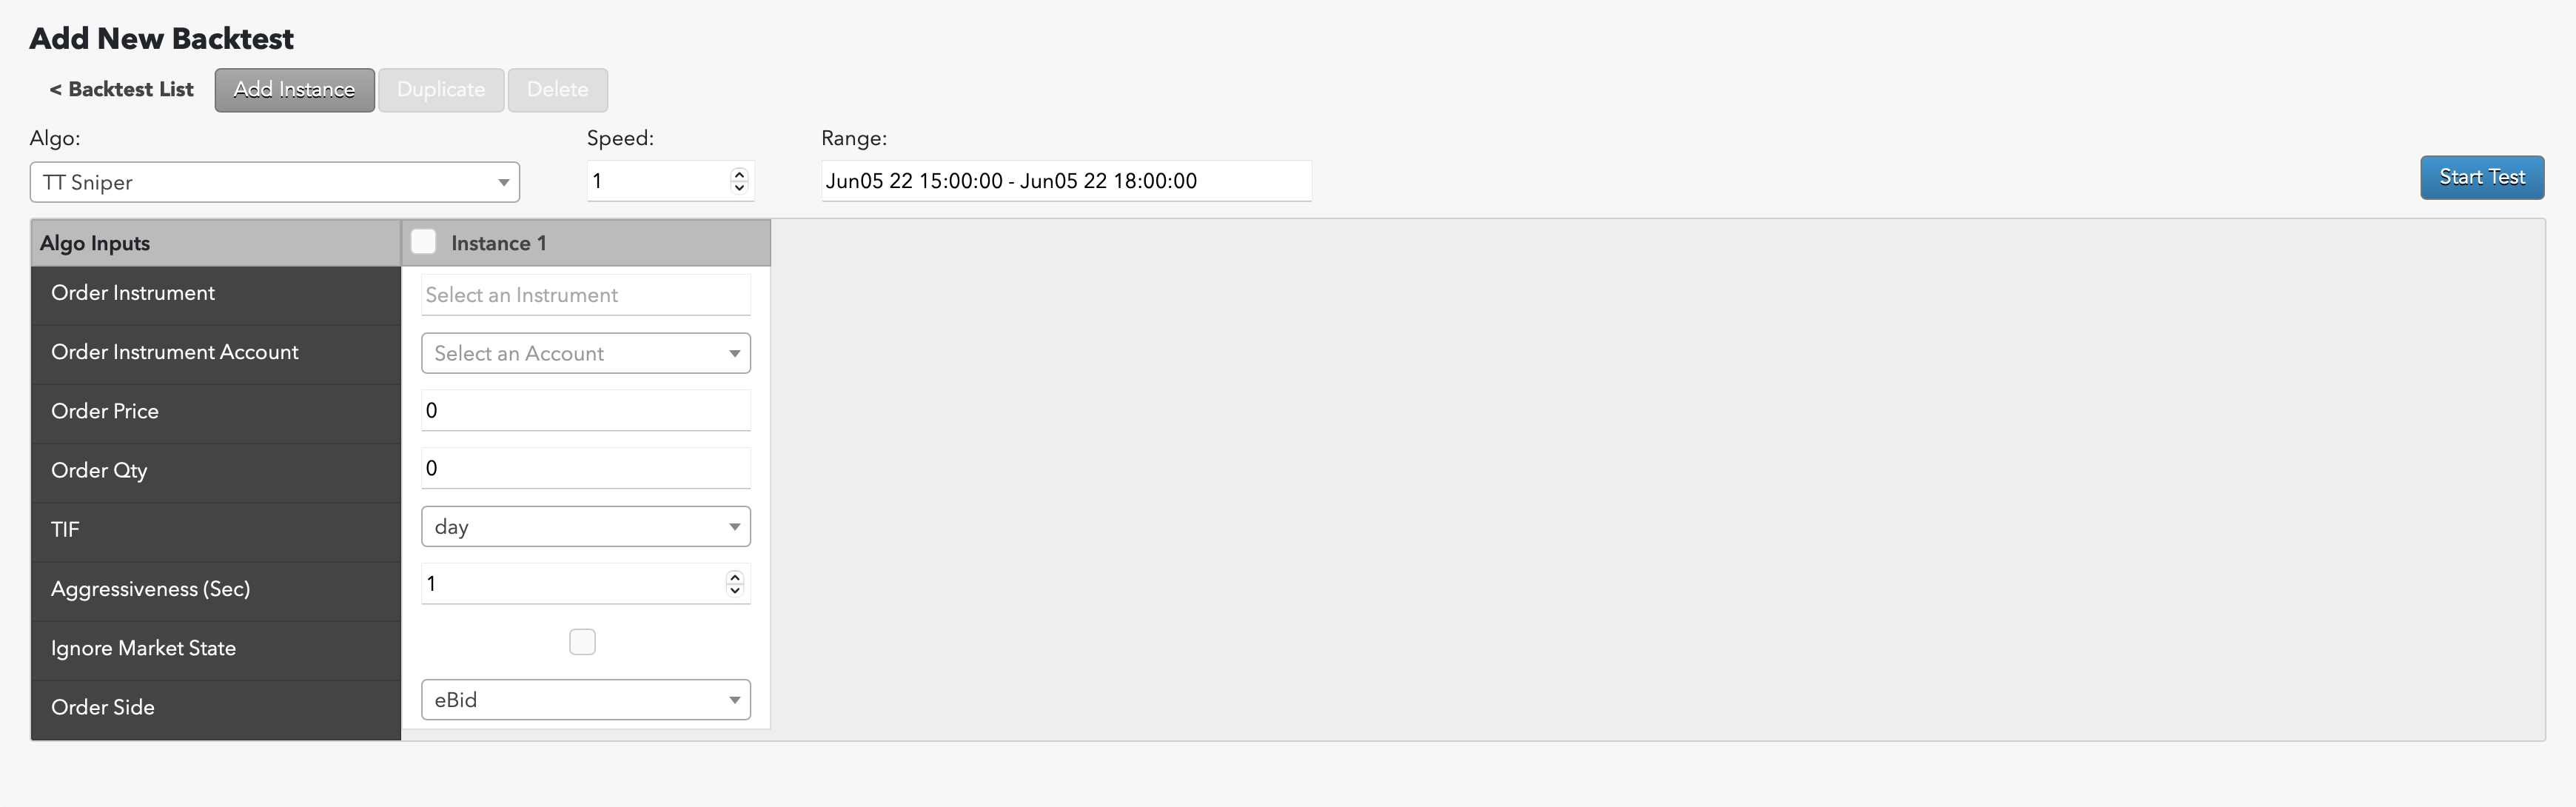
- From the Algo dropdown, select an algo you want to backtest.
- In the Speed field, enter the replay speed. Note: Increasing the replay speed can significantly reduce the time it takes to backtest the algo. However, higher replay speeds also increase the conflation of market data. For more information about how replay speed can affect a backtest, see About replay speeds.
-
In the Range field, select the date and time range for the replay. The historical period set by the Range field is always set using the user's time zone.
Note: Currently, a backtest's range cannot be greater than one trading day. Also, if you select a date and range for which no market data is available for the instrument, an error dialog is displayed when you start the backtest.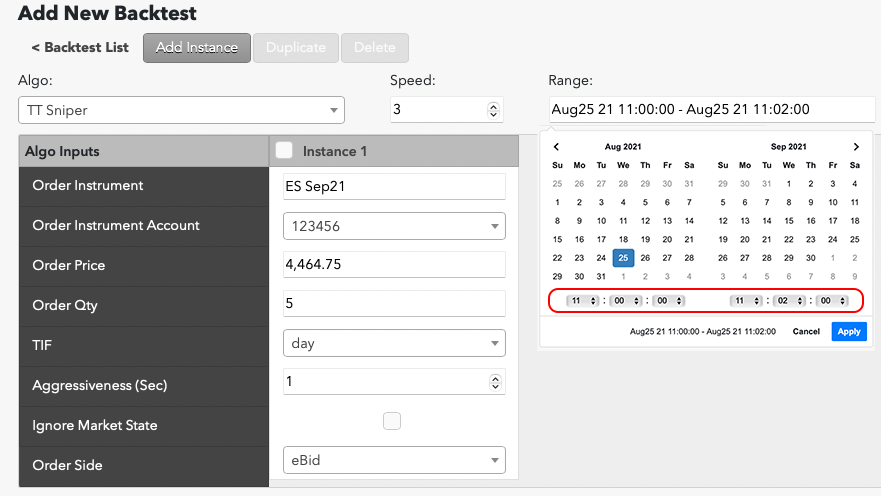
Adding and configuring algo instances to the backtest
TT Backtesting lets you explore the effects of using different values for your algo variables. For each backtest, you can create up to ten instances of the algo so you can run backtests for different configurations and compare the results.
To configure one or more algo instances:
-
In the Add Mew Backtest window, specify the desired Instance 1 algo parameters.
Note: If the ADL algo uses default values for a parameter, they will appear in their respective fields.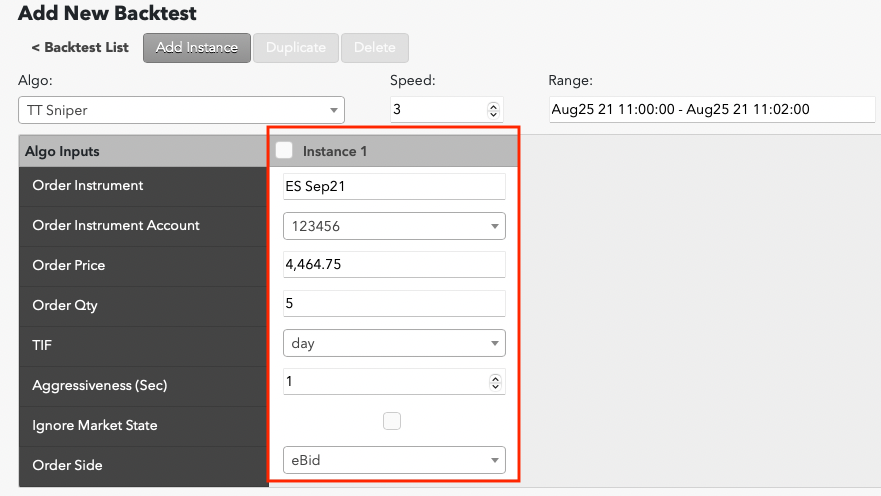
-
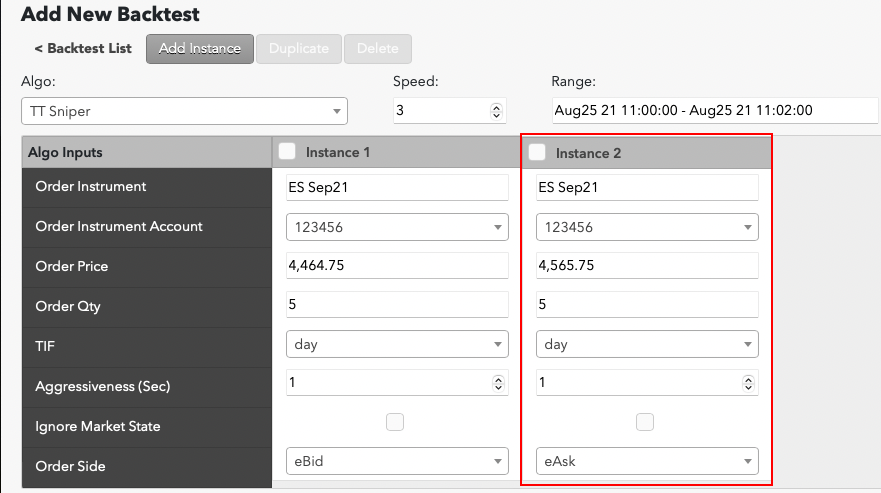
If you would like to backtest the algo with different input parameters, click Add Instance.
Note: You can backtest a maximum of ten instances.
A new instance is added.

-
Specify the desired values for the new algo instance.
-
Continue adding and configuring instances as desired.
Starting a backtest
When you have finished configuring the algo backtest:
-
Click Start Test.
TT Backtesting prepares the backtest and calculates an estimated run time based on your backtest configuration.
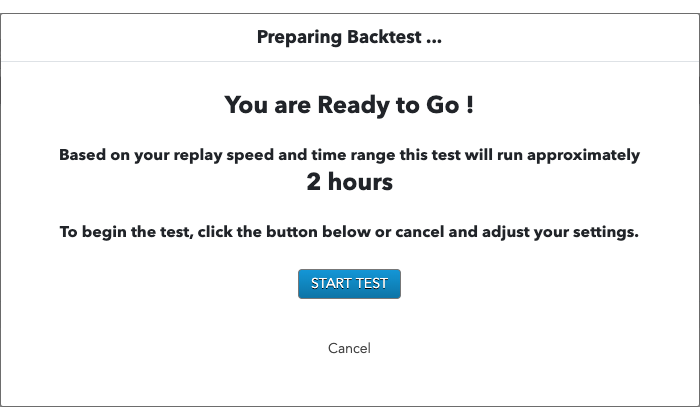
- In the confirmation dialog, click START TEST to start the backtest, or click Cancel to cancel the backtest.
Monitoring the progress of a backtest
After you start a backtest, you can monitor the Status column to track its progress. A backtest will progress through the following statuses:
- New: The backtest has yet to be started.
- Pending: The backtest is validating its inputs.
- Launching: The backtest starts its execution.
- Price Download: The backtest is downloading the historical market data for the specified range.
- Initialization: The backtest is initializing the ADL algo.
- Running: The backtest is running the algo with the historical market data.
- Finished: The backtest completed successfully.
- Failed: Some error occurred during the backtest. Contact TT Support.
When a backtest is completed, you can display the test results for backtests that finished successfully or troubleshoot backtests that failed.
Stopping a backtest
Once a backtest reaches the Price Download status, you can manually stop the backtest.
Note: You will be still be charged for the time a backtest ran if you stop a backtest manually.
To stop a backtest:
- Select the backtest you want to stop.
- Click Stop Test. The Status field changes to ABORTING and then to ABORTED when the backtest stops successfully.
Deleting backtests
To delete an instance you are currently configuring, click the checkbox next to the instance's name and press the Delete button.
You can also delete a backtest after you no longer want to keep the results. To delete a completed backtest:
- Select the backtest you want to delete.
-
Click Delete Test.
