NFX
Managing NFX counterparties
Use the Counterparties tab to add, view, and edit a list of counterparties available to your company. You can also add newly added counterparties to multiple broker accounts at one time.
The Counterparties tab provides a shortcut to managing counterparty identification settings.
Adding a counterparty
To add a counterparty:
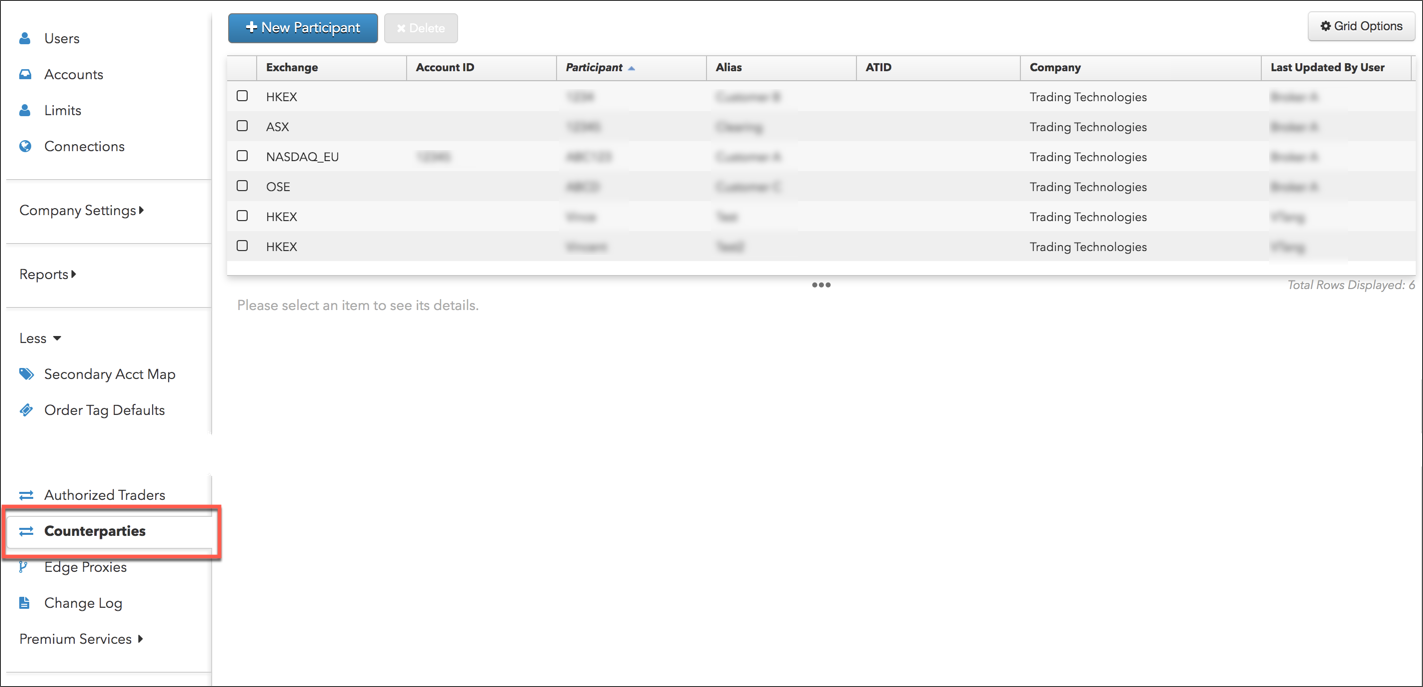
- Click More on the left navigation pane and select Counterparties.
- Click +New Participant at the top of the screen.
- Click Select an Exchange in the Counterparty Information section and scroll to and click on an exchange name.
The counterparty settings fields appear. The displayed settings are different per exchange.
Enter the exchange counterparty identification settings for the counterparty:
- Click Create.
Assigning an account to a counterparty
To assign an account to a counterparty:
Note: You can also assign a counterparty to an account using the Accounts tab in the left navigation panel.
- Click More on the left navigation pane and select Counterparties.
- In the grid, click (check) the checkbox next to a counterparty to select it.
Click the Accounts tab and click +Add
.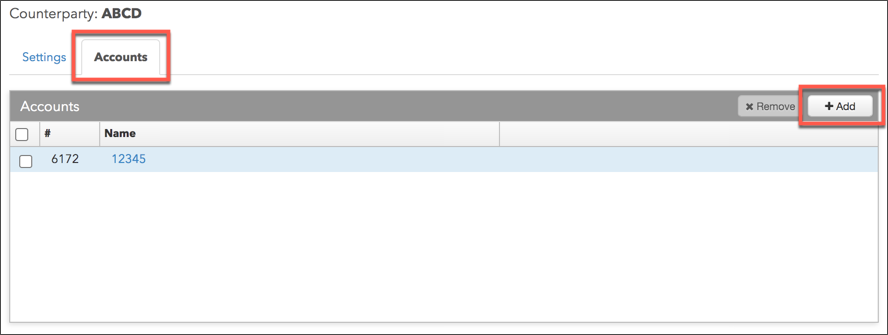
The Select Accounts screen appears.
In the Select Accounts screen, click an account to highlight it and click Select.
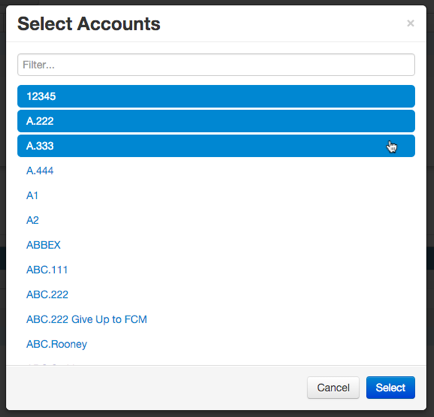
- Click Save Changes
Editing or viewing a counterparty
To edit or view a counterparty:
- Click More on the left navigation pane and select Counterparties.
- In the grid, check the checkbox next to a counterparty to select it.
- Edit or view the exchange counterparty account settings for the selected record and click Save Changes.
Deleting a counterparty
To delete a counterparty:
- Click to select a counterparty in the data grid.
- Click Delete.